

Yes, you can safely clean most wood furniture with vinegar, and it takes just minutes using a simple 1:1 vinegar-to-water solution. This natural cleaning method cuts through grime, removes sticky residue, and lifts light water marks without the harsh chemicals found in commercial cleaners. Homeowners have relied on diluted white vinegar for decades because it disinfects while being gentle enough for sealed wood finishes.
The key is understanding when vinegar works and when it doesn’t. Sealed wood furniture with polyurethane, lacquer, or varnish finishes responds beautifully to vinegar cleaning. But unfinished wood, waxed surfaces, and certain antiques can suffer permanent damage from vinegar’s acidity. That’s why we’ll walk you through a quick finish test before you begin.
What makes vinegar so effective? The acetic acid dissolves dirt and grease while evaporating quickly, leaving no soapy residue that attracts more dust. You’ll see results immediately, and your furniture will feel smooth and clean to the touch. This guide gives you the exact dilution ratio, shows you how to test your furniture’s finish, and provides numbered steps that prevent the most common mistakes. You’ll also learn how to verify your work and know whether you’ve achieved that fresh, renewed look your wood furniture deserves.
Why Vinegar Works for Wood Furniture
Vinegar’s cleaning power comes from its mild acidity. White distilled vinegar contains about 5% acetic acid, which is strong enough to dissolve dirt, grime, and oily fingerprints but gentle enough to clean without removing finish when properly diluted. This acetic acid cuts grease without the harsh solvents found in commercial cleaners, making it particularly effective on kitchen tables and dining chairs where food residue accumulates.
Beyond cutting through dirt, vinegar kills bacteria and neutralizes odors, creating a cleaner surface without leaving chemical residues that children or pets might contact. This matters for families who want effective cleaning without introducing synthetic fragrances or volatile organic compounds into their homes.
Furniture care specialists note that vinegar works best on sealed finishes like polyurethane, lacquer, and varnish because these protective coatings prevent the acid from penetrating the wood itself. The vinegar cleans the finish layer, not the raw wood beneath. This is why proper dilution and technique matter: you want the cleaning benefits without risking moisture damage to the wood or breakdown of the protective seal that keeps your furniture looking good.
What You’ll Need to Get Started
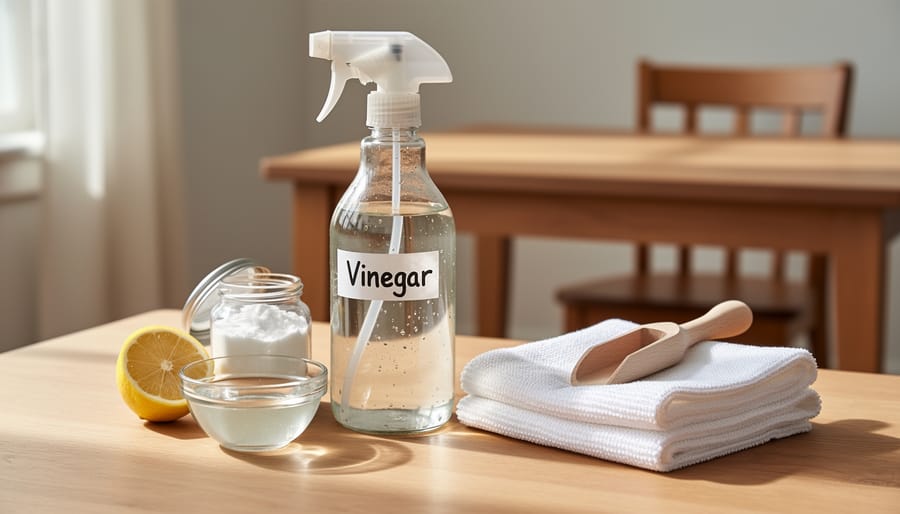
You don’t need much to clean your wood furniture safely with vinegar, but each item plays a specific role in protecting your finish while removing grime.
- White distilled vinegar: The only type safe for wood furniture. Apple cider and wine vinegars contain sugars that leave sticky residue.
- Distilled or filtered water: Tap water’s minerals can leave spots on dark wood finishes.
- Spray bottle: Makes dilution easy and controls application, but any clean container works.
- Microfiber cloths (at least two): One for cleaning, one for drying. Their fine fibers lift dirt without scratching.
- Soft cotton rags: Old t-shirts work perfectly as a backup or for buffing.
- Wood conditioner or olive oil: Restores moisture and shine after cleaning. Choose based on your furniture’s existing finish.
The microfiber cloths deserve special attention. They’re worth buying new if your current ones are rough or linty, since scratches from cheap cloths defeat the purpose of gentle cleaning. Look for cloths labeled for glass or automotive detailing.
If you don’t have a spray bottle, you can mix your solution in a bowl and dip your cloth directly. Just wring it out thoroughly each time. The goal is a barely damp cloth, not a wet one that could soak into the wood grain and cause swelling or cloudiness in the finish.
Important Safety and Compatibility Warnings
Vinegar isn’t safe for every wood surface, and using it incorrectly can permanently damage your furniture. Before you start cleaning, you need to know which finishes are off-limits and how to protect your pieces.
Waxed furniture is particularly vulnerable because vinegar strips away the protective wax layer, leaving the wood exposed and dull. Antiques often have delicate finishes that react poorly to acid, and untreated wood absorbs moisture too readily, which leads to warping or staining. If your furniture has an oil finish like tung oil or Danish oil, vinegar may cloud the surface or break down the protective layer.
The dilution ratio matters enormously. Never use undiluted vinegar on wood furniture. Full-strength vinegar is too acidic and will eat away at most finishes, leaving behind a hazy, damaged surface. Stick to a 1:1 ratio of white vinegar to water, no exceptions.
Common mistakes include soaking the cloth instead of dampening it (excess moisture seeps into joints and causes swelling), scrubbing against the grain (which creates scratches), and letting the solution sit on the surface (the acid has more time to damage the finish). If you’re uncertain about your furniture’s finish, test in a spot that’s normally hidden, like the underside of a tabletop or inside a drawer opening. Wait 10 minutes after testing. If you see any cloudiness, discoloration, or tackiness, stop immediately and switch to a cleaner designed for that specific finish type.
Step-by-Step Cleaning Process
Prepare Your Solution and Workspace
Start by mixing equal parts white distilled vinegar and room temperature water in a clean spray bottle. A simple 1:1 ratio, say, half a cup of each, gives you enough solution for most furniture pieces without waste. Room temperature water blends smoothly with vinegar and won’t shock sensitive wood finishes the way cold water might.
Before you touch the bottle, dust your furniture thoroughly with a dry microfiber cloth. Even fine dust can turn into abrasive grit when dampened, scratching your finish as you clean. Work from top to bottom, getting into crevices and carved details where dust hides.
Clear the area around your furniture. Move decorative items, lamps, and anything that could get splashed. If you’re working on a large piece you can’t move easily, lay old towels on the floor beneath it. This protects your flooring from drips and gives you a staging area for your cloths and solution. You’re now ready to clean without creating new problems.
Apply and Clean the Surface
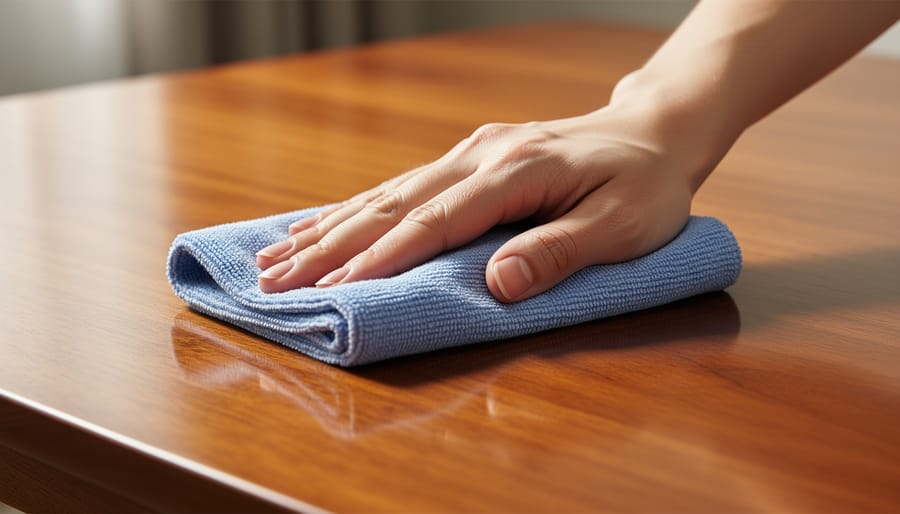
Dip your microfiber cloth into the vinegar solution, then wring it out thoroughly until it’s just barely damp, you should be able to press it against your palm without leaving moisture. This prevents water from seeping into the wood and causing swelling or cloudiness.
Starting at the top of your furniture piece, wipe in smooth strokes that follow the wood grain direction. You’ll feel the grain’s natural lines under your cloth; moving against them can leave streaks and won’t clean as effectively. Use light to moderate pressure, about the same force you’d use wiping a window. If you’re pressing hard enough to leave finger marks in the cloth, you’re pushing too hard.
For stubborn sticky spots or grimy buildup, pause over the area for five to ten seconds to let the vinegar work, then wipe again with the grain. Don’t scrub in circles or back and forth, that risks dulling the finish.
Re-dampen your cloth when it starts to dry out or becomes visibly dirty, typically every two to three square feet. A cloth that’s too dry will just push dirt around instead of lifting it.
Dry and Condition the Wood
Grab a fresh, dry microfiber cloth and immediately wipe down the entire surface you just cleaned. Work quickly, leaving moisture on wood, even diluted vinegar, invites damage like cloudiness or warping. Use firm, smooth strokes following the grain until the wood feels completely dry to the touch.
Once dry, you can enhance the finish with a conditioning step. Wait at least 30 minutes after drying before applying any conditioner; this allows any residual moisture to fully evaporate. For a simple approach, dab a tiny amount of olive oil onto a clean cloth and buff it into the wood using circular motions, then wipe away excess. For better protection, use a commercial wood polish or conditioner designed for your furniture’s finish. These products not only restore shine but also create a protective barrier against future spills and dust.
Skip conditioning if your furniture already has a glossy, well-maintained finish or if you clean it weekly. Over-conditioning can leave buildup. For pieces cleaned monthly or less, conditioning helps maintain that rich, cared-for appearance. If you’re unsure about conditioning frequency, explore other safe methods for wood furniture care that match your cleaning routine.
Address Specific Problem Areas
Sticky residue requires a slightly different approach. Mix a stronger solution, two parts vinegar to one part water, and apply it directly to the affected spot with a cotton swab. Let it sit for 30 seconds before wiping clean. This concentrated dose breaks down adhesive or gummy buildup without soaking the surrounding wood.
Water rings need patience. Dampen your cloth with the standard 1:1 solution and work in gentle circles over the ring for 15-20 seconds. If it doesn’t fade, stop. Repeated scrubbing damages the finish. For stubborn rings, you’ll need paste wax or professional refinishing.
Carved details and crevices trap dust and grime. Wrap your dampened cloth around a butter knife or use a soft toothbrush dipped in your vinegar solution. Work carefully along grooves and patterns, then immediately dry with a cotton swab.
If the first pass doesn’t fully clean an area, wait 24 hours before trying again. Multiple treatments in one session risk oversaturating the wood and lifting the finish.
How to Tell If It Worked (and What to Do Next)
After you’ve finished cleaning and drying your wood furniture, run your hand gently across the surface. It should feel smooth and clean, not sticky or gritty. Look closely at the finish from different angles, you want to see an even sheen without cloudy patches, white spots, or dull areas that suggest moisture damage.
The wood grain should be visible and enhanced, not obscured by streaky residue or film. If you notice any lingering vinegar smell, wipe the surface again with a cloth dampened in plain water, then dry immediately. A very faint vinegar scent that disappears within an hour is normal.
Red flags that something went wrong include whitish hazing on the finish, raised grain that feels rough, or areas that look duller than before cleaning. These signs mean the solution was too strong, you used too much liquid, or your furniture has a finish that doesn’t tolerate vinegar. Stop immediately and consult a furniture restoration specialist if you see damage.
For regular maintenance, clean high-touch pieces like dining tables and coffee tables monthly with this vinegar method. Less-used furniture needs attention only every three to four months. If you’re dealing with deeper issues like persistent stains, mildew, or serious grime buildup, learn how to remove mold from wood properly or consider upgrading to a commercial wood cleaner formulated for your specific finish type.
Common Questions from the Gage Furniture Community
Our community has asked some great questions about using vinegar on their wood furniture. Here are the answers that come up most often from both homeowners who’ve tried this method and furniture care specialists.
Can I add essential oils to my vinegar solution for a better scent?
Yes, you can add 5-10 drops of essential oil like lemon or lavender to mask vinegar’s smell, but add it after mixing the vinegar and water. The oil won’t affect cleaning power but makes the experience more pleasant.
Will vinegar remove scratches from my wood furniture?
No, vinegar only cleans the surface and won’t fill or repair scratches. For scratches, you’ll need wood markers, putty, or refinishing products specifically designed for wood repair.
Can I use apple cider vinegar instead of white vinegar?
Stick with white distilled vinegar. Apple cider vinegar can leave a sticky residue and potentially stain lighter woods due to its color and sugar content.
How does vinegar compare to commercial wood cleaners?
Vinegar works well for regular cleaning and costs less, but commercial cleaners often include conditioners and are formulated for specific finishes. For antiques or high-value pieces, specialized products offer better protection.
Different wood types respond similarly to properly diluted vinegar. Oak and maple handle vinegar well due to their harder, denser grain. Pine and other softwoods need a gentler touch, use slightly less vinegar in your mix and don’t scrub as hard. For mahogany and cherry, test your solution first since their finishes can vary widely.
If you notice any white spots or cloudiness after cleaning, you’ve likely used too much vinegar or left moisture on the surface too long. This differs from mold issues, which require different mold removal steps entirely. When in doubt, err on the side of a weaker solution and shorter contact time.
Cleaning wood furniture with vinegar offers a safe, budget-friendly alternative to harsh commercial cleaners when you follow the proper dilution and testing guidelines. You’ve learned the complete method, from that crucial test spot to the final conditioning step, giving you everything needed to maintain your furniture’s beauty without expensive products or professional help.
Start small with an inconspicuous area, stick to the 1:1 vinegar-to-water ratio, and work with the grain. Regular gentle cleaning, done correctly, prevents buildup and keeps your wood furniture looking its best for decades. Your pieces deserve this careful attention, and the method is simple enough to make it a sustainable habit.
We’d love to hear how this method worked for your furniture. Share your results, before-and-after photos, or questions with the Gage Furniture community, your experience helps other homeowners care for their cherished pieces with confidence.
Rowe Furniture Review: Is This Virginia-Made Brand Worth the Premium in 2026?
Yes, you can safely <a href="https://www.gagefurniture.com/furniture-care-and-cleaning/how-to-clean-wooden-pieces-at-home/">clean most wood furniture</a> with vinegar, and it takes just minutes using a simple 1:1 vinegar-to-water solution. This natural cleaning method cuts through grime, removes sticky residue, and lifts light water marks without the harsh chemicals found in commercial cleaners. Homeowners have relied on diluted white vinegar for decades because it disinfects while being gentle enough for sealed wood finishes. The key is understanding when vinegar works and when it doesn’t. Sealed wood furniture with ...